





The Artist Collection by Marlene Lufen
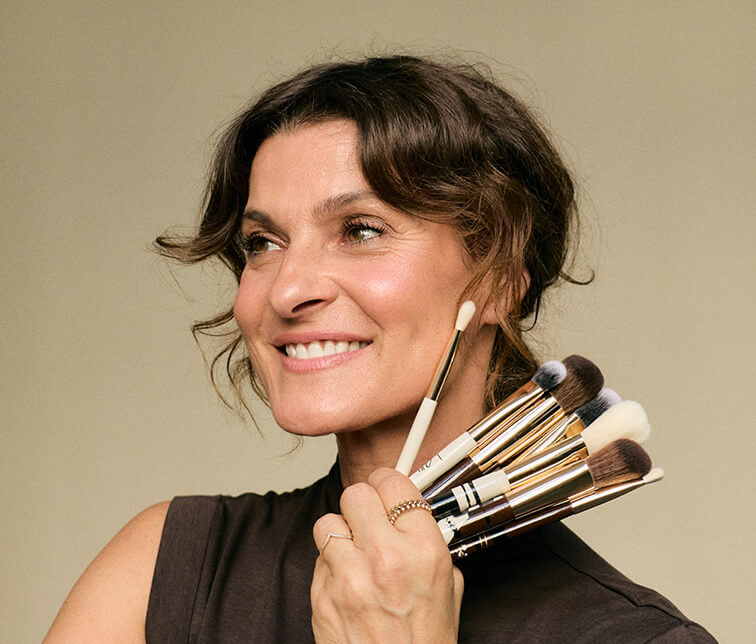
Marlene Lufen loves fine craftsmanship. Whether at home, at work, or when applying Make-up. She has now designed her own Brushes for JACKS: hand-painted in her favorite shade, chocolate brown.
Read more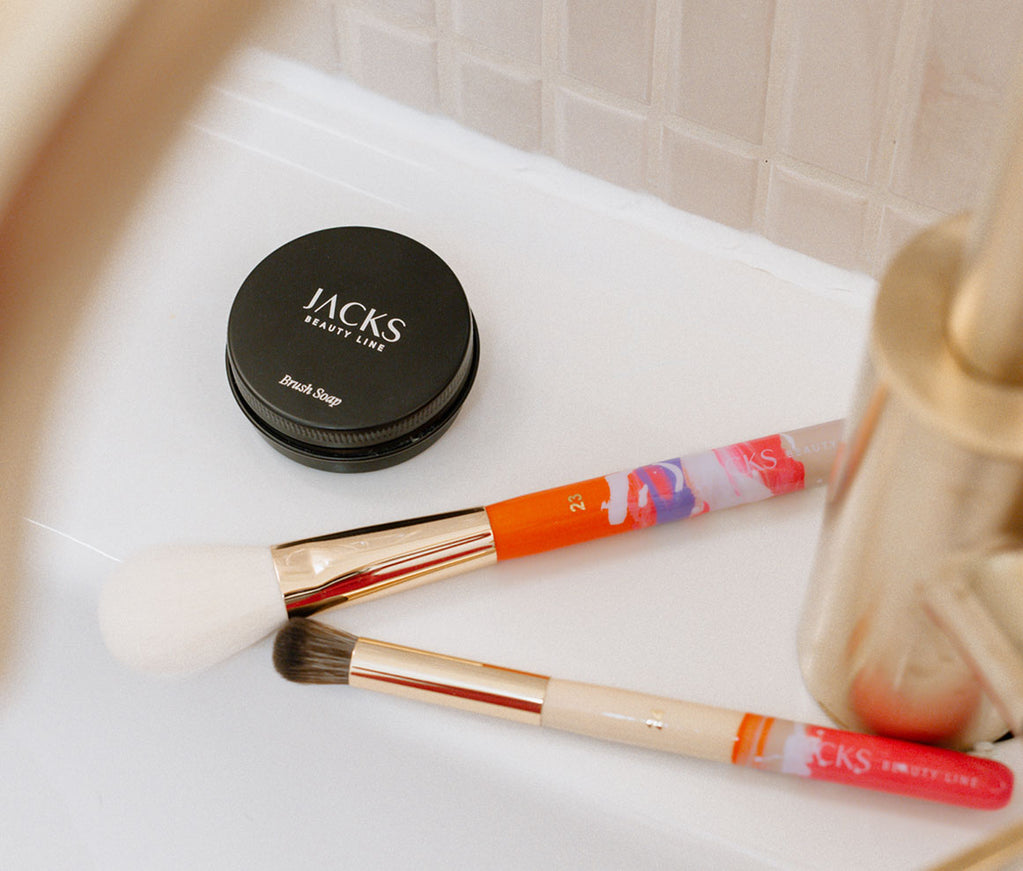
Reading time approx. 3-4 min.
Clean your make-up brushes once a week with lukewarm water and a mild brush soap, then leave them to dry flat. Regular cleaning removes bacteria and flakes of dead skin from the brush hair and helps prevent blemishes. A brush soap is particularly suitable for this because its coconut oil base is gentle on the bristles while cleaning them thoroughly. The instructions below show you how to proceed in six steps.
by Julia Döll – last updated on 24. August 2026
Unclean Make-up brushes collect bacteria and dead skin cells that can lead to spots and skin blemishes. When applying foundation or powder, product residue and fine skin flakes get caught in the brush hair. Without regular cleaning, you spread these bacteria back onto your skin the next time you apply makeup, which can promote inflammation.
Clean your Make-up brushes once a week. Set a regular time in your calendar, such as every Sunday, or keep the Brush Soap within easy reach so you remember automatically.
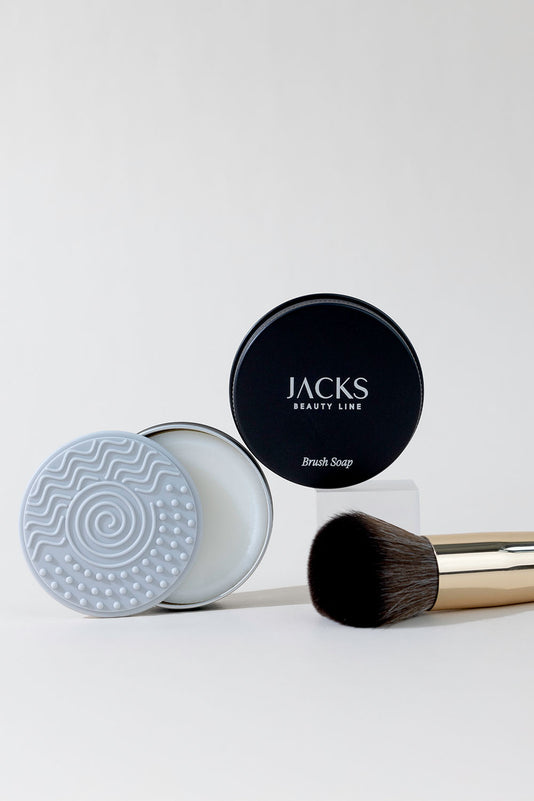
To clean your brushes, you need a mild cleanser, lukewarm water, a clean towel, and optionally a silicone pad. You should have the following ready:
With these tools, you can clean your Brushes gently and thoroughly without putting unnecessary strain on the bristles.
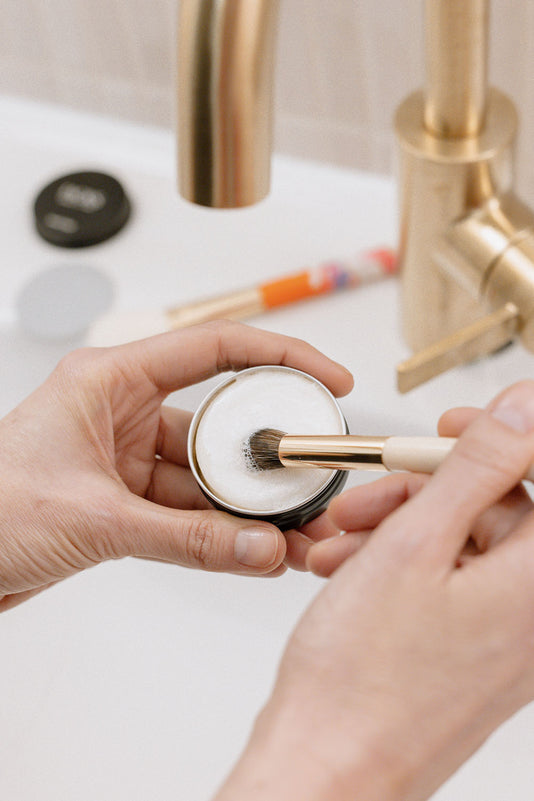
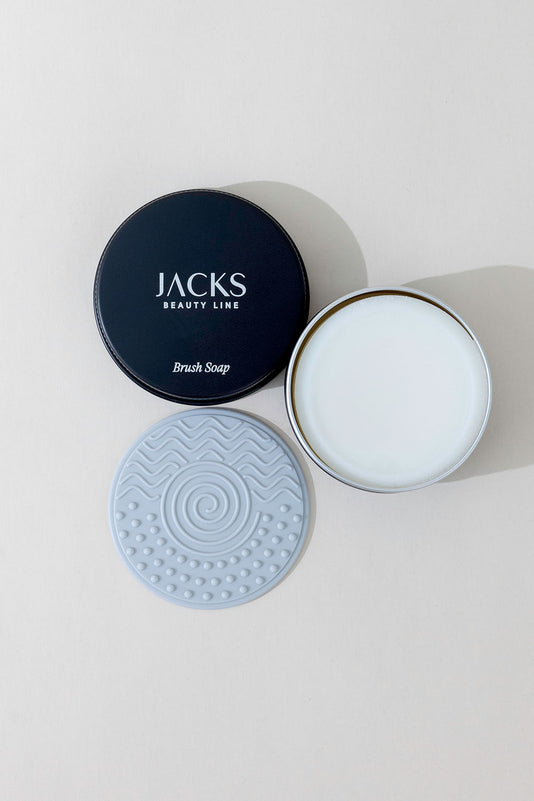
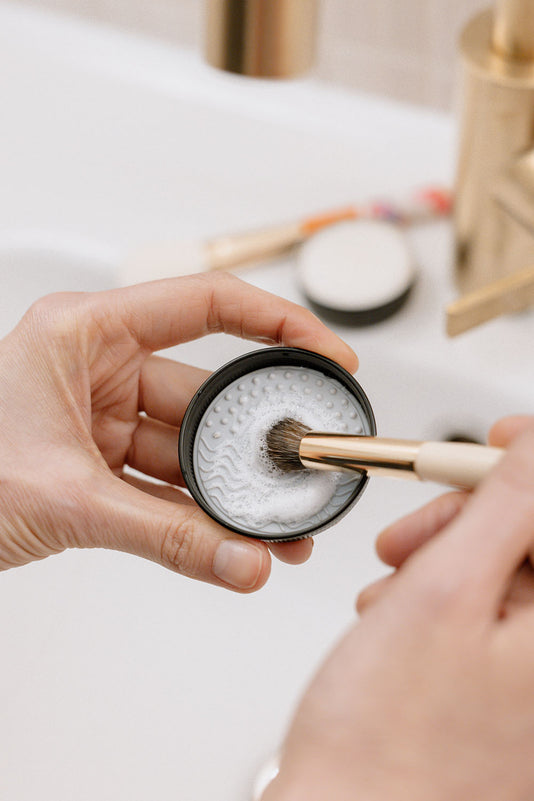


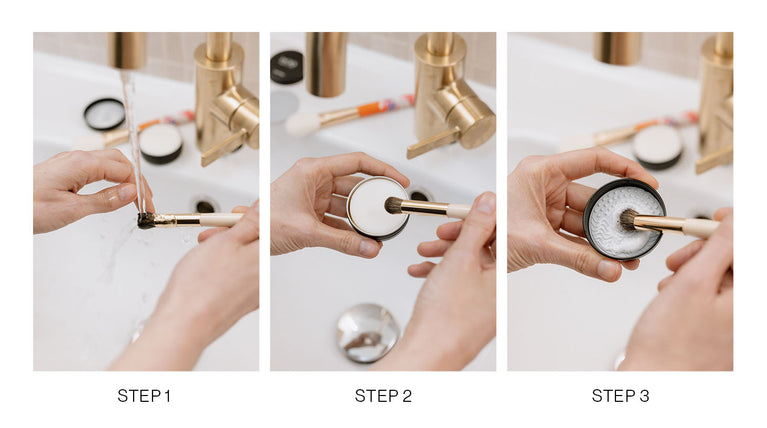
How to clean your Make-up brush in six steps, from first wetting it to letting it dry completely.
Prefer watching rather than reading? Watch our video now.
Hold your Make-up brush with the bristles pointing downward under lukewarm water, not hot water, as the glue could otherwise loosen. Make sure that only the bristles get wet while keeping the brush handle as dry as possible so that the adhesive bond does not come loose.
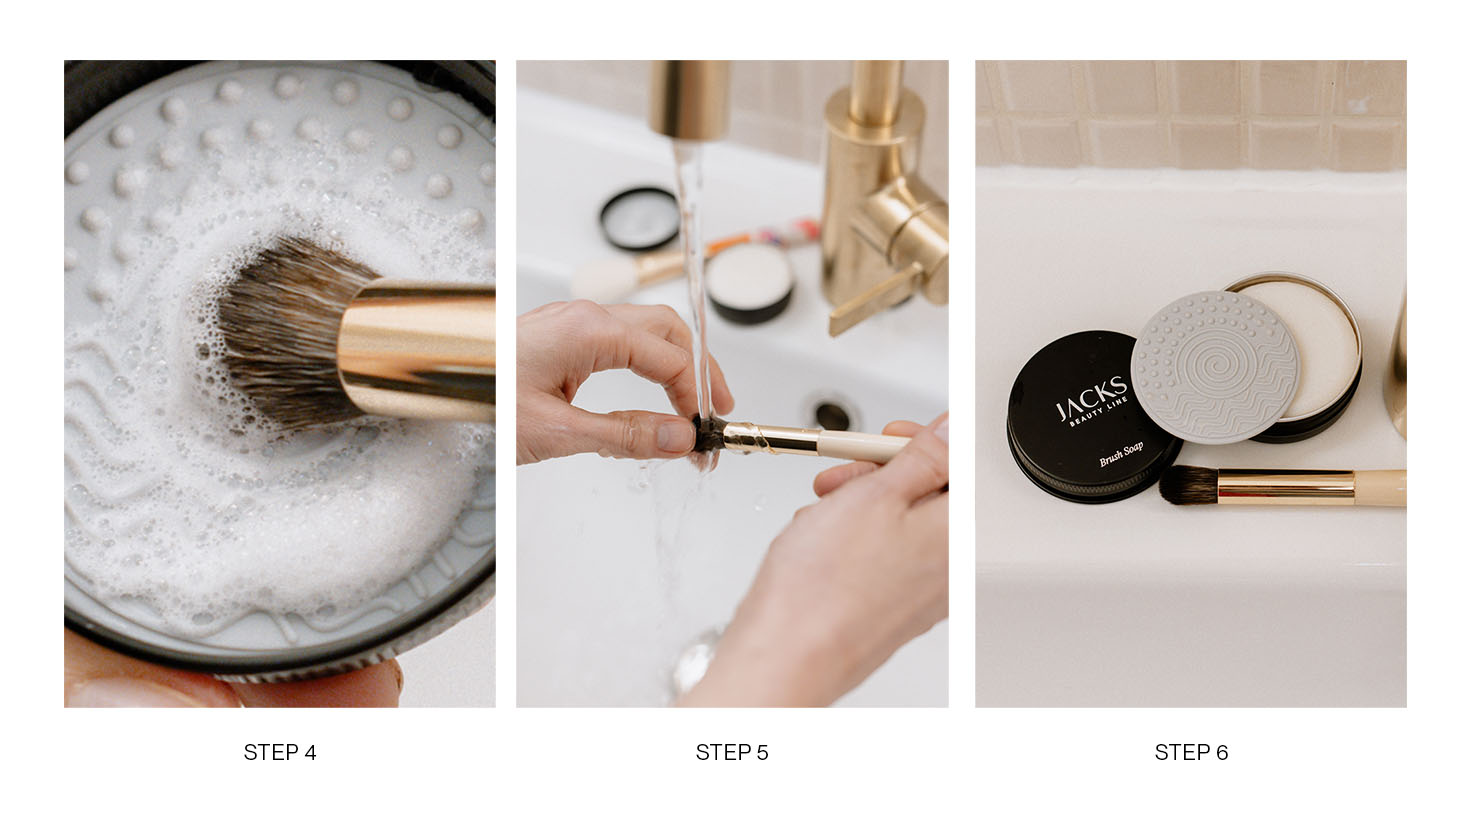
Gently move the damp brush head in circular motions over the solid brush soap until a soft lather forms.
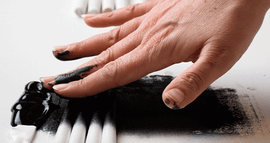
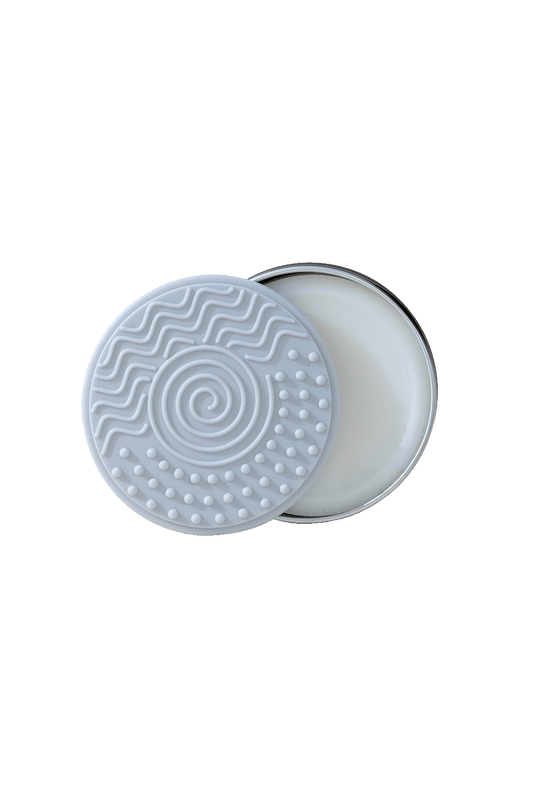
Move the soaped-up Brush in circular motions over the textured surface of the removable silicone pad in the lid. This helps loosen Make-up residue and dirt deep from the Brush bristles.
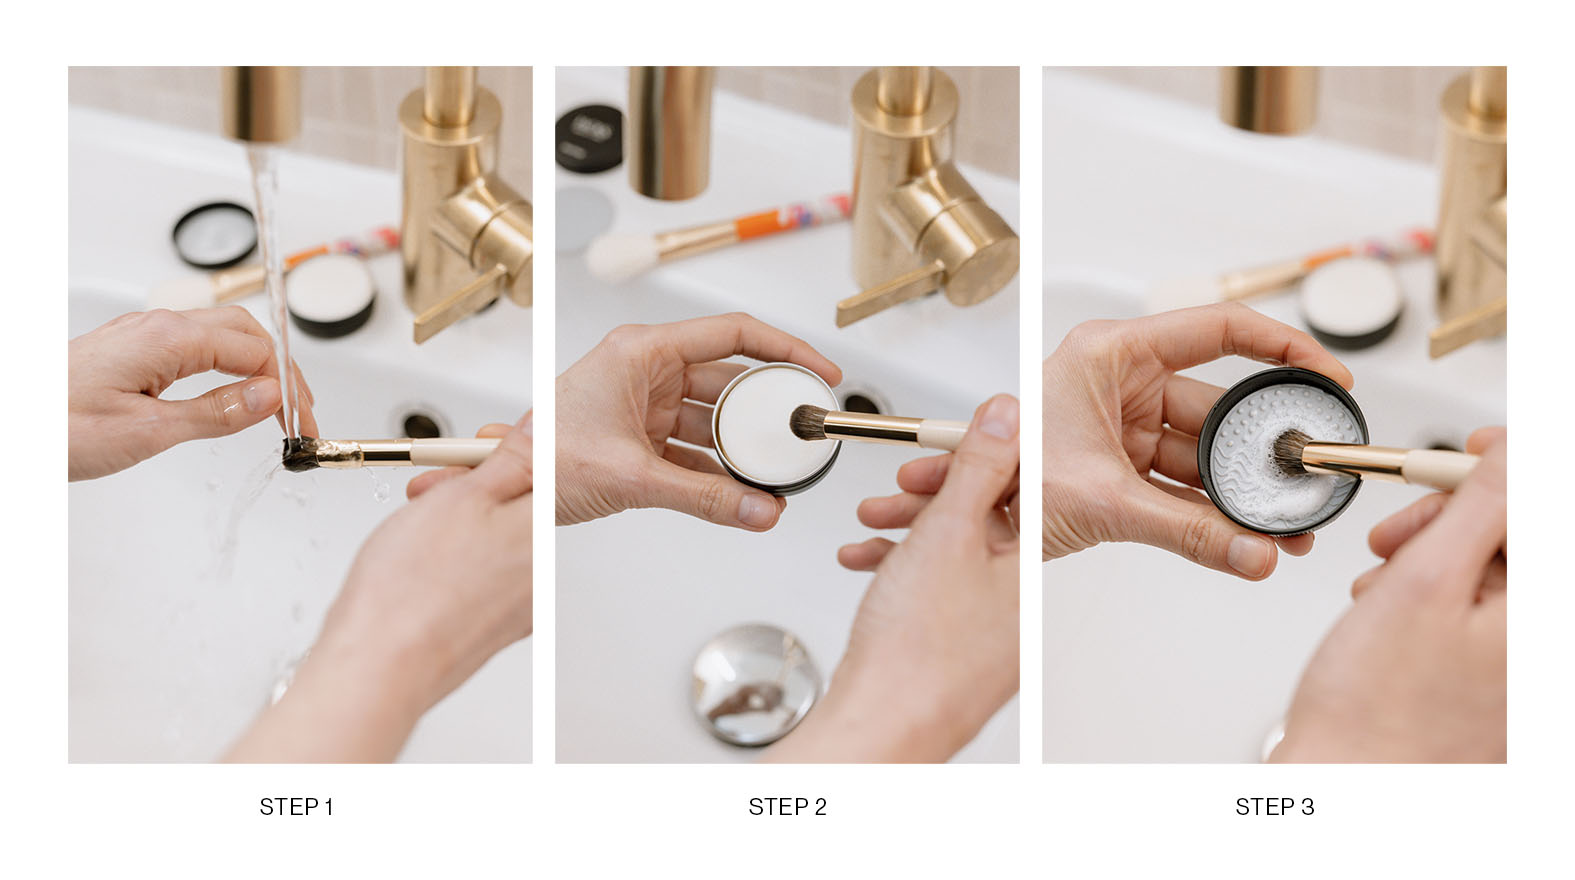
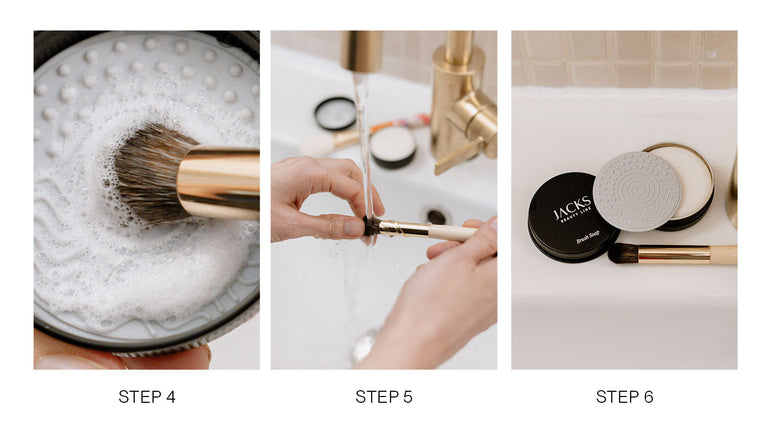
Check whether any Make-up residue is still visible in the foam, and repeat the process if necessary until the foam remains clear.
Rinse the Brush under running water until no soap residue remains. Gently squeeze excess water from the bristles and lightly reshape them before laying the Brush flat on a towel to air-dry.
Do not dry your Brush on a radiator or with a hairdryer, as this can damage the bristles. Also, make sure not to store your Brushes damp in closed bags, as this can lead to mold.
Rinse the Brush Soap and the removable silicone pad under running water and leave both open to dry. This keeps your Brush Soap hygienically clean and ready to use.
Important: Leave your Brush lying flat for several hours until the brush hair is completely dry.
Done! Your Brushes are now ready for their next use.
Beauty experts’ tip: Squeeze your Brush at the front. If you can still see soap, continue rinsing it under running water until no soap is visible.
Watch the cleansing process step by step in the video. This way, you can see exactly how much foam and pressure are right when lathering and rinsing.
How long your Make-up brushes stay soft and hygienic depends primarily on how often you clean them and the method you use. If you use several brushes every day, it helps to schedule a regular weekly cleaning appointment in your calendar. If you are prone to sensitive or blemished skin, deep cleaning with the silicone pad is an added benefit because it removes residue and bacteria from the brush hair more thoroughly. And if you prefer watching instead of reading, you’ll find the complete routine explained step by step in the video above.
The most important points at a glance:
Clean your Make-up brushes once a week, ideally by scheduling a recurring appointment in your calendar. This way, care quickly becomes a relaxing routine rather than a tedious chore.
Use a gentle cleanser such as solid brush soap, lukewarm water, and a clean towel. A silicone pad is optional and provides additional help with deep cleaning.
Wash your Brushes only with lukewarm water, as hot water can loosen the adhesive joints in the handle. This helps your Brushes stay stable and ready to use for longer.
Gently squeeze the Brushes head and check whether any soap still comes out. If the foam remains clear while washing, your Brushes are ready for the next use.
Lay your Brushes flat on a towel and let them air-dry. Avoid using a heater or hair dryer, as they can damage the brush hair over time.
Give your Brushes a few hours to dry completely. Only then will they be ready for your next look.
Let your Brushes dry completely before putting them away, and avoid closed bags while they are damp. This helps prevent mold and keeps your Brushes looking beautiful for longer.
Clean your Brushes regularly to remove bacteria and flakes of skin that accumulate in the brush hair during application. This helps prevent blemishes and benefits your skin.
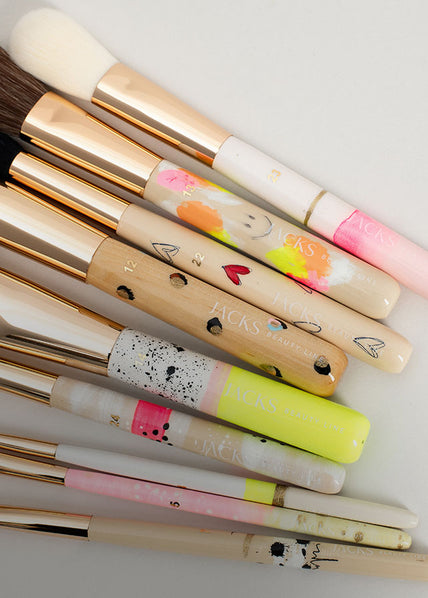


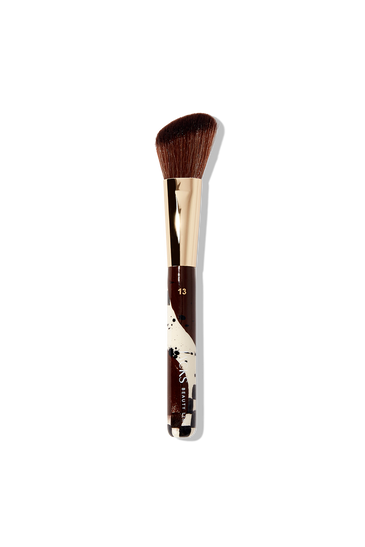


Marlene Lufen loves fine craftsmanship. Whether at home, at work, or when applying Make-up. She has now designed her own Brushes for JACKS: hand-painted in her favorite shade, chocolate brown.
Read more
Look makeup-free even though you’re wearing Make-up: Here’s how to achieve the no-makeup look step by step.
Read more
Why did the new shade expansion take two years? Rim Zemuye explains how foundation, concealer, and Cream Blush for darker skin tones came about.
Read more
Ordered the wrong shade, and now the product sits unused in your bathroom? It doesn’t have to be that way: our consultation options before and after your purchase help you...
Read more
Sun, heat, humidity: In summer, your Make-up needs lightweight textures. Find out how to keep your look fresh even at 30 degrees.
Read more
UV rays, heat, and sweat put particular stress on your skin in summer. Here’s how to build the right skincare routine.
Read more
Cream Blush is creamy with a glowy finish, Powder Blush is powdery and long-lasting. Find out which blush suits your skin type and why combining both often delivers the best...
Read more
Discover how to apply mascara correctly! With step-by-step instructions, tips on color, ingredients & removing makeup, you can achieve the perfect eye look without clumping or smudging.
Read more