Make-up bei Problemhaut
Rötungen, Entzündungen oder Pickel sorgen oft dafür, dass man sich in seiner Haut nicht wirklich wohl fühlt. Auch erschweren sie das tägliche Make-up, da das dezente bzw. “natürlich aussehende” Kaschieren...
Read more

Reading time approx. 5 minutes
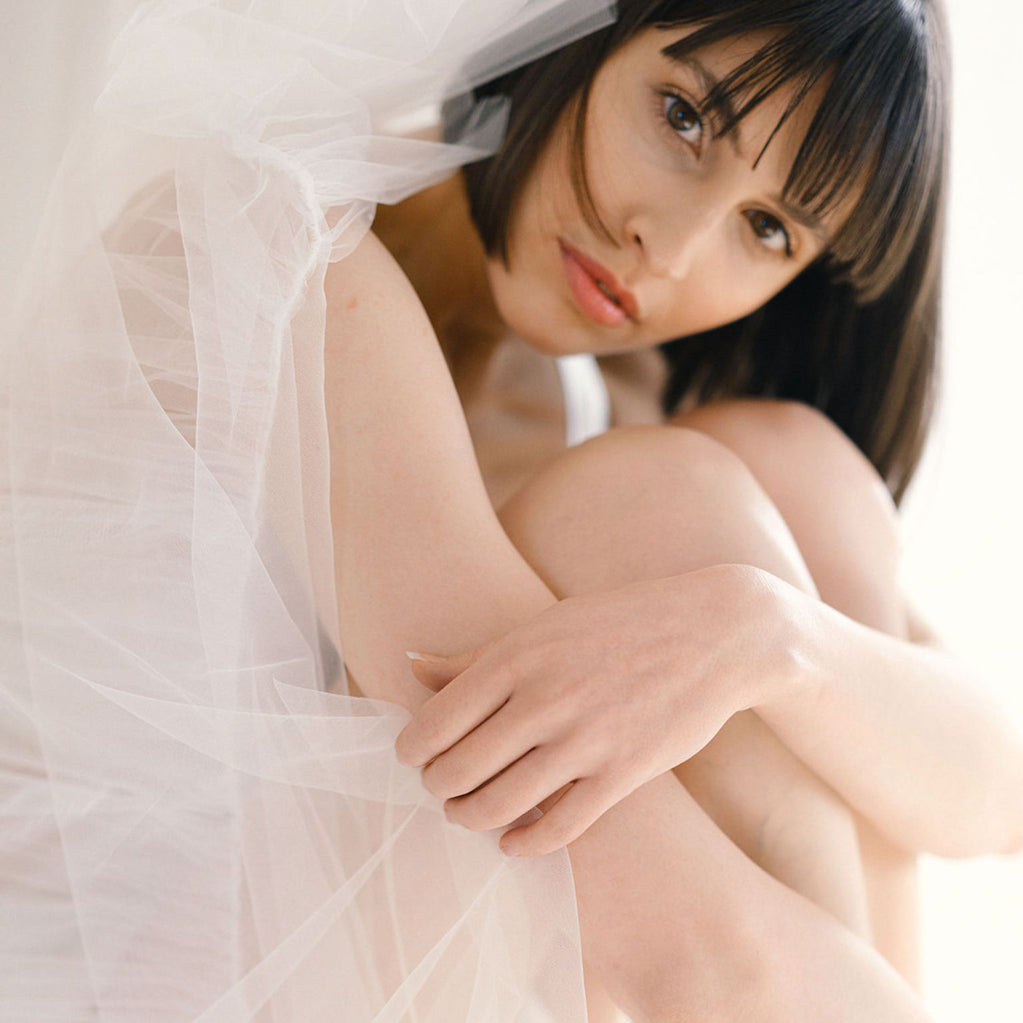
There is no other event for which we plan our outfit and make-up as far in advance as our own wedding. The weather has to be good, the food has to be perfect, the dress has to be a childhood dream. Beautiful memories are captured in pictures and videos, there is crying, laughing, sweating and dancing. And the make-up? The make-up should last for a few hours and, above all, underline the bride's natural beauty.
by Pelén Boramir-Nabbs – May 24, 2023
We will show you step by step how to create a fresh and natural make-up look for your wedding and look radiantly beautiful.


Products: Glow Foundation , #12 Foundation Brush , Cream Concealer , #8 Concealer Brush , Pressed Powder , #14 Powder and Bronzer Brush
Put one pump of the Glow Foundation on the back of your hand, gradually pick it up with your #12 foundation brush and distribute the foundation evenly over your face, from the center of the face outwards. Work the foundation into your skin with the brush until it has visually melted into your skin. Usually just one pump is enough to get a particularly light and glowy finish.
For stronger coverage, you can also mix the Glow Foundation with our Cream Concealer. If you want an even lighter, glowy consistency, you can also mix the Glow Foundation with our Beauty Elixir.
For ideal results, apply our cream concealer to the desired areas of skin and blend the texture evenly onto your skin using our #8 concealer brush. This is a great way to conceal small blemishes and spots. We recommend that you always use our concealer in the same shade as your foundation. If you only want to use it for your dark circles, you can also choose a shade lighter.
If you apply our Cream Concealer in dabbing movements, the concealer will be more opaque – sweeping movements will give a softer result.
Tip: Our Cream Concealer is very versatile. You can mix it with our Glow Foundation or apply it before or after.
To set your make-up and cream concealer and to refine the complexion, apply our Pressed Powder to your face with our #14 powder and bronzer brush. You can also use our #9 mini powder brush to beautifully mattify smaller areas of your face, such as your eyelids.


Products: Cream Highlighter “Golden Glow”, #7 shading brush
The best way to use the Pressed Highlighter is to apply it with a brush to the areas you want to highlight with gently reflected light.
Apply the product to your eyelid using our #7 shading brush – you can gradually intensify the colour according to your taste.


Products: Cream Highlighter “Light Glow”, #10 Soft Powder Brush , Cream Blush in Peach, #11 Mini Foundation Brush
To give your face a delicate color, you can use our Cream Blush in Peach. Smile and apply the Cream Blush to the highest point of your cheeks and then blend it with our #11 Mini Foundation Brush. If necessary, you can also apply our Cream Blush to the contours of your cheekbones and blend it towards your temples. For that special glow, take the #10 Soft Powder Brush and use it to apply some of the Pressed Highlighter in “Light Glow”.


Products: Lipstick Rosewood , Lip Oil “Your Lips But Better” , #15 Lip Brush
Apply the Lip Oil in Your Lips But Better like a lip balm with our #15 Lip Brush and prepare your lips perfectly for applying your lipstick. For a natural shade, use the Lipstick in Rosewood. If you apply the lipstick first and then the Lip Oil, you can give a very matte lipstick a glossy finish.
Tip: For a particularly beautiful lip contour, you can apply some cream concealer to your lip contour before applying your lipstick. Then set it with some powder. This will make your lip contour cleaner, the lipstick will last longer and won't run.
The beauty expert tip: To freshen up your make-up after a few hours, you should pack the following products in your beauty bag: #11 Mini Foundation Brush , Cream Blush , Pressed Powder , #14 Powder and Bronzer Brush , #15 Lip Brush , Lipstick and Lip Oil .
Hair & Make-up: JACKS beauty line
Photos: Still miracle - Diana Vartanova
Wedding dresses: MICHÈLE WEITEN
Model: Julie Balzeau
Hair accessories: Jeonga Choi Berlin
Flowers: sophisandkates.wedding