


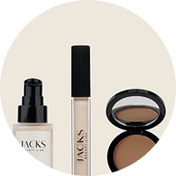

Retinol or Retinal
You surely know retinol, but have you heard of retinal? In the blog, you will learn why it works more gently and why we rely on it in our new...
Read more

Reading time approx. 5-6 minutes
In this post, we show you step by step which techniques visually open your eyes, which products are particularly suitable, and how to cleverly combine colors. This way, you achieve a Make-up that lasts all day and highlights your eyes. With our tips, applying make-up on hooded eyelids becomes easy and creates an expressive, radiant look.
by Julia Döll – last updated on 5. March 2026
Droopy eyelids, also known as hooded eyelids, occur when the upper eyelid partially or completely overlaps the movable lid. This often makes the eyes look tired or smaller, even when you are well-rested. Droopy eyelids are a common phenomenon that can be genetic or develop over time due to skin aging, gravity, or loss of elasticity.
How to recognize droopy eyelids:
A simple test in front of the mirror quickly shows whether you have droopy eyelids.
Typical signs of droopy eyelids are:
With the right make-up technique for droopy eyelids, you can visually open up the eyes, making them look bigger and more awake, and the eye Make-up lasts longer without settling into the eyelid crease.
The perfect eye make-up for hooded eyelids is achieved with the right technique and coordinated products. With our step-by-step guide, you will learn how to visually open your eyes, emphasize the crease, and create an awake, radiant look.
Before applying eyeshadow, a good base is crucial. Use an eyeshadow primer to set the movable eyelid, absorb excess oils, and extend the wear of your colors. This is especially important for hooded eyes, as eyeshadow can quickly crease otherwise. Let the base dry briefly before continuing.
If you don’t have a primer on hand, no problem: you can also use a matte eyeshadow that matches your skin tone as a base. Use a flat eyeshadow brush to apply the eyeshadow to the movable lid. This also creates an even base, conceals redness, and makes it easier to blend the following colors.
With this preparation, you highlight your movable eyelid optimally without emphasizing the hooded lid, creating the perfect foundation for all the next steps of your eye make-up.
To make your eyes appear larger, apply a darker eyeshadow shade just above your hooded eyelid on the bone. Use a soft blending brush for this. The color should extend from the center of the pupil to the outer corner of the eye. With gentle, circular motions, blend the transitions downward onto the movable lid. This creates a soft, crescent-shaped form that emphasizes the crease and adds depth.
Beauty expert tip: Look straight ahead to place the colors optimally.
Apply a medium-dark shade to the back third of the lower lash line and gently blend the color towards the middle. Avoid shades that are too dark to prevent visually pulling the eye downward. This creates a harmonious frame and opens up the gaze.
Apply highlights selectively under the brow arch and in the inner corner of the eye to lift the gaze and draw attention away from the eyelid crease. A light shimmering shade like Champagne is ideal.
A dark eyeshadow or a waterproof eyeliner along the upper lash line visually thickens the lashes and gives the gaze more expression. For more intense looks, the brushes can be slightly moistened. For a particularly open eye, a narrow eyeliner is recommended, which elegantly lifts the gaze.
Apply a nude-colored eye pencil to the waterline to make your eyes look instantly more awake. This is especially effective for hooded eyelids, as it visually enlarges the eyes.
Applying mascara is a crucial step in eye make-up for hooded eyelids, as voluminous, well-separated lashes make the eyes appear larger. Before you start with mascara, you can optionally shape your lashes with an eyelash curler to give them more lift. Then apply 2–3 coats of mascara to create volume and length.
Beauty expert tip: For hooded eyelids, it’s especially worthwhile to focus on the outer lash line. That’s where the eye looks the most awake and open.
More tips and a detailed guide to perfect mascara application can be found in our blog post How to apply mascara correctly: guide and tips
Eyebrows frame the eye. Comb them upwards and fill in gaps with an eyebrow pencil or powder. Set the shape with an eyebrow gel. A slightly arched brow increases the distance between the eyelid and brow, which further opens up the gaze.
Avoid these mistakes that make the eyes look smaller, more tired, or heavier:
With the right technique, eye make-up for hooded eyelids can be easily applied to visibly open up the eyes. Good preparation with primer, strategically placing eyeshadow just above the natural crease, and a thin eyeliner along the lash line make the eyes appear larger, more awake, and more defined.
Matte eyeshadows, softly blended transitions, and bright highlights in the inner corner of the eye or under the eyebrow add depth and an optical lifting effect. Complemented by voluminous mascara and slightly lifted eyebrows, this creates a harmonious eye make-up look that balances hooded eyelids and makes the gaze more expressive.
The most important tips at a glance:
Light eyeshadows on the movable eyelid, darker tones above the hooded eyelid, and highlights under the brow as well as in the inner corner of the eye immediately make the eyes appear more open.
Neutral tones like beige, ivory, or taupe on the movable eyelid and darker shades above the hooded eyelid create the appearance of a crease.
Draw a thin, waterproof eyeliner directly along the upper lash line and slightly extend it upward at the outer corner of the eye.
Apply 2–3 layers of mascara to the lashes, especially on the outer lash line. For more curl, you can use an eyelash curler beforehand.
A detailed guide to perfect mascara application can be found in the blog post How to Apply Mascara Correctly: Guide and Tips.
Avoid dark kohl on the lower waterline, overly thick eyeliner, and flashy glitter eyeshadows, as they make the eyes appear smaller. Also, apply make-up from a straight-on perspective in front of the mirror to see the crease correctly and achieve an even result.
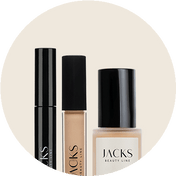
You surely know retinol, but have you heard of retinal? In the blog, you will learn why it works more gently and why we rely on it in our new...
Read more
Sensitive skin needs special care. We show you how to recognize it, why the skin barrier is important, and what a routine that protects your skin looks like.
Read more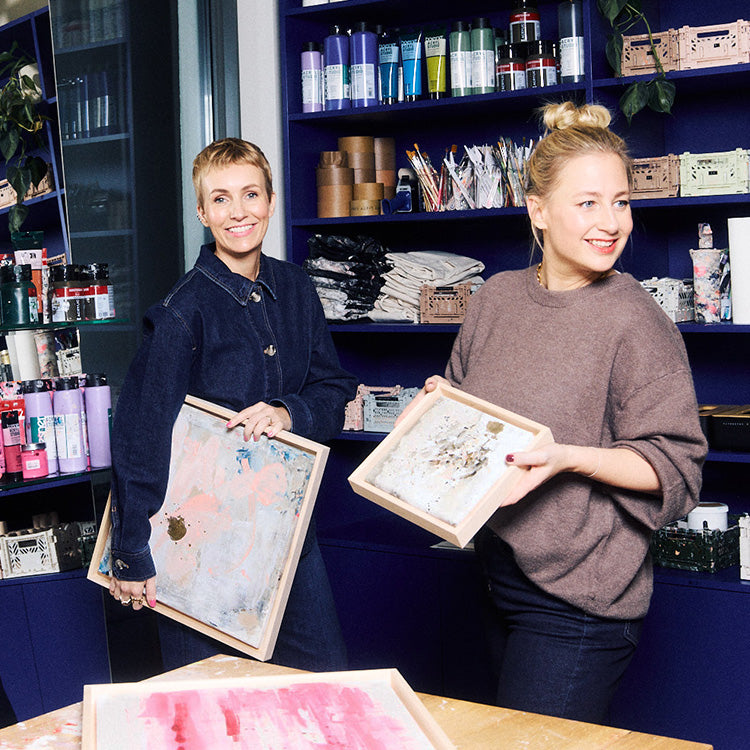
Our Artist Collection is a deliberate return to the origins of JACKS beauty line. Miri explains why this step is so important to us in the interview.
Read more
Our hand-painted brushes have been the heart of JACKS beauty line since day one. You can feel the love in each one – and now something new is emerging from...
Read more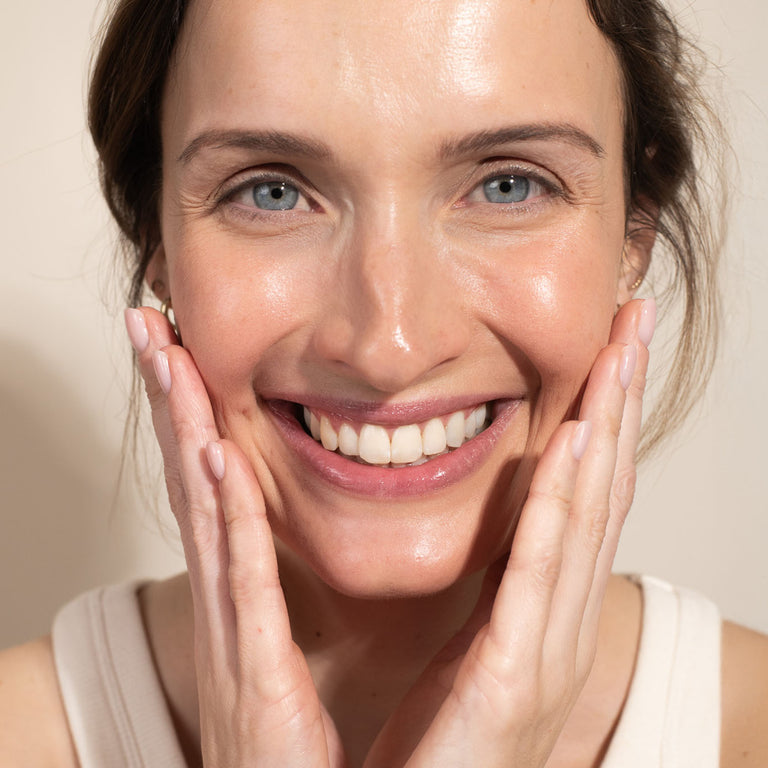
Winter stresses the skin due to cold and dry air. With the right care, your skin stays healthy and radiant, even in the cold season.
Read more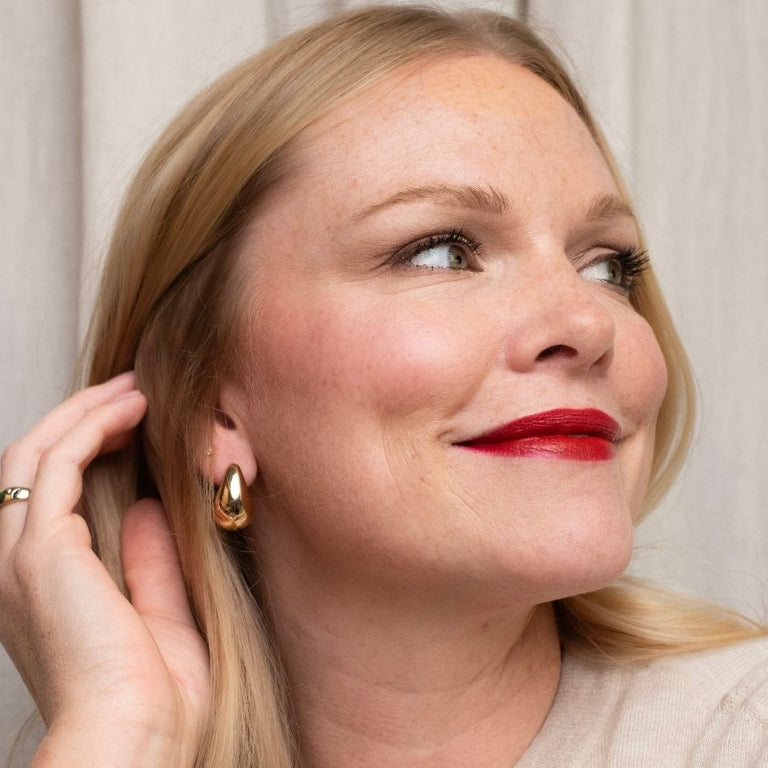
When one invitation follows another during Advent, your Make-up needs to be flexible. With just a few products, your daytime look quickly becomes festive. Leonie shows how to achieve a...
Read more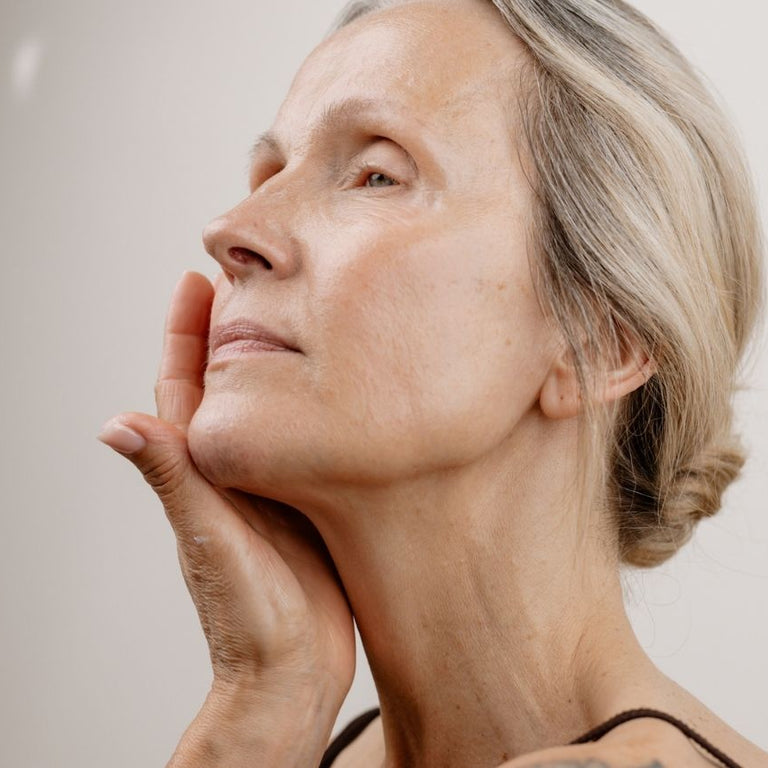
Skin from 40 onwards not only struggles with dryness and the first wrinkles but often also with impurities. You can read here about the role hormones play and what matters...
Read more
Our skincare line makes your skin glow at any age. After more than two years of development, the launch is just around the corner. Find out what to expect on...
Read more