Spring is slowly approaching and Leonie is showing you her soft pink spring look to match. The focus here is on a natural, glowy complexion and the cream blush in pink, which provides a subtle color on both the cheeks and the eyelids. A look that is perfect for everyday life and provides a bit of freshness and color to match the first rays of sunshine.
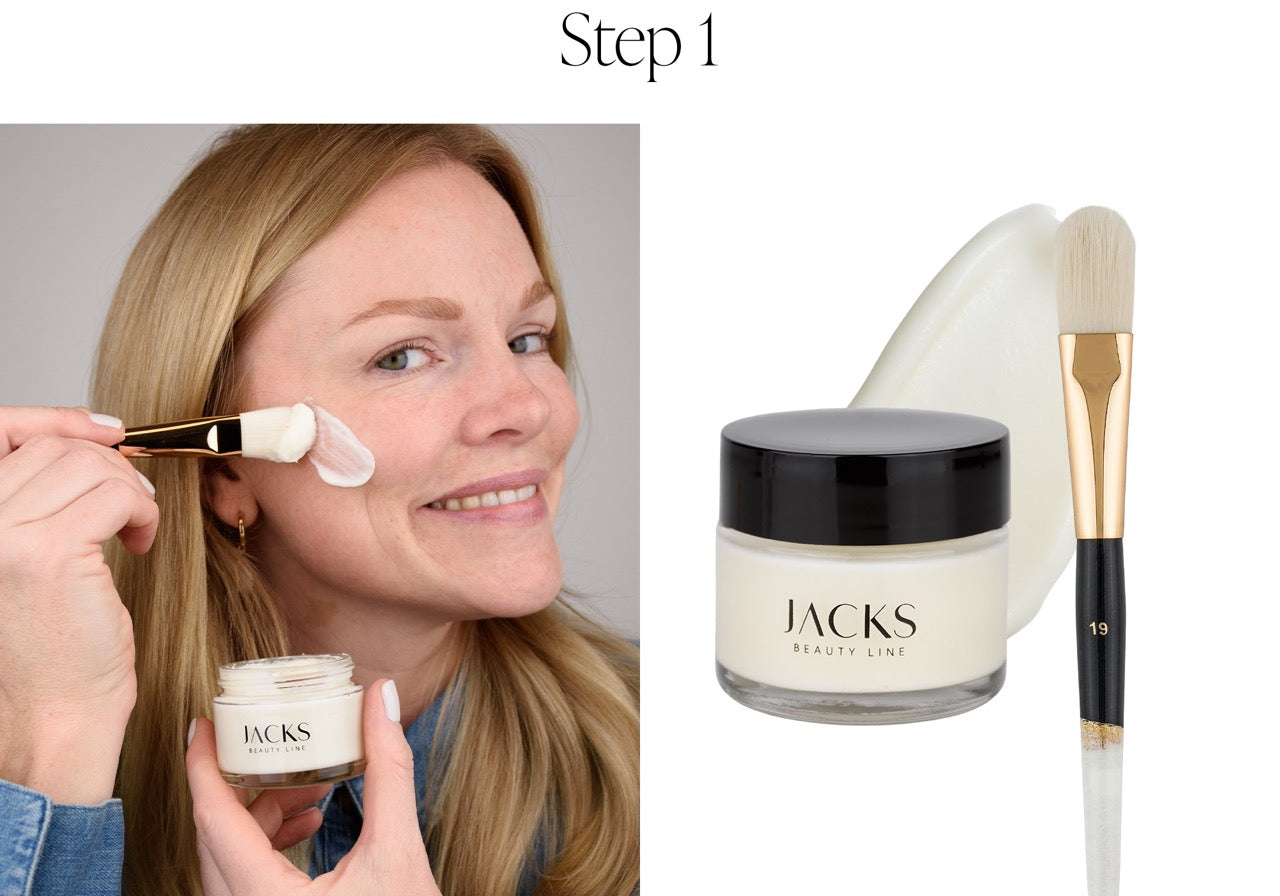
Apply Glow Mask
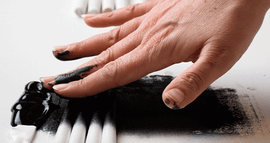
The basis of every good make-up is well-cared-for skin. For intensively cared-for and moisturized skin, use our Glow Mask. Use the #19 mask brush to pick up some product and spread it gently and evenly over your face. The brush makes application more hygienic, more even and you use less product. Ideally, you should apply the mask the evening before and leave it on overnight. Otherwise, you can remove the residue after 20 minutes with a dry cotton pad or gently wash it off.
Now the skin is perfectly prepared for the make-up routine.
shaping eyebrows
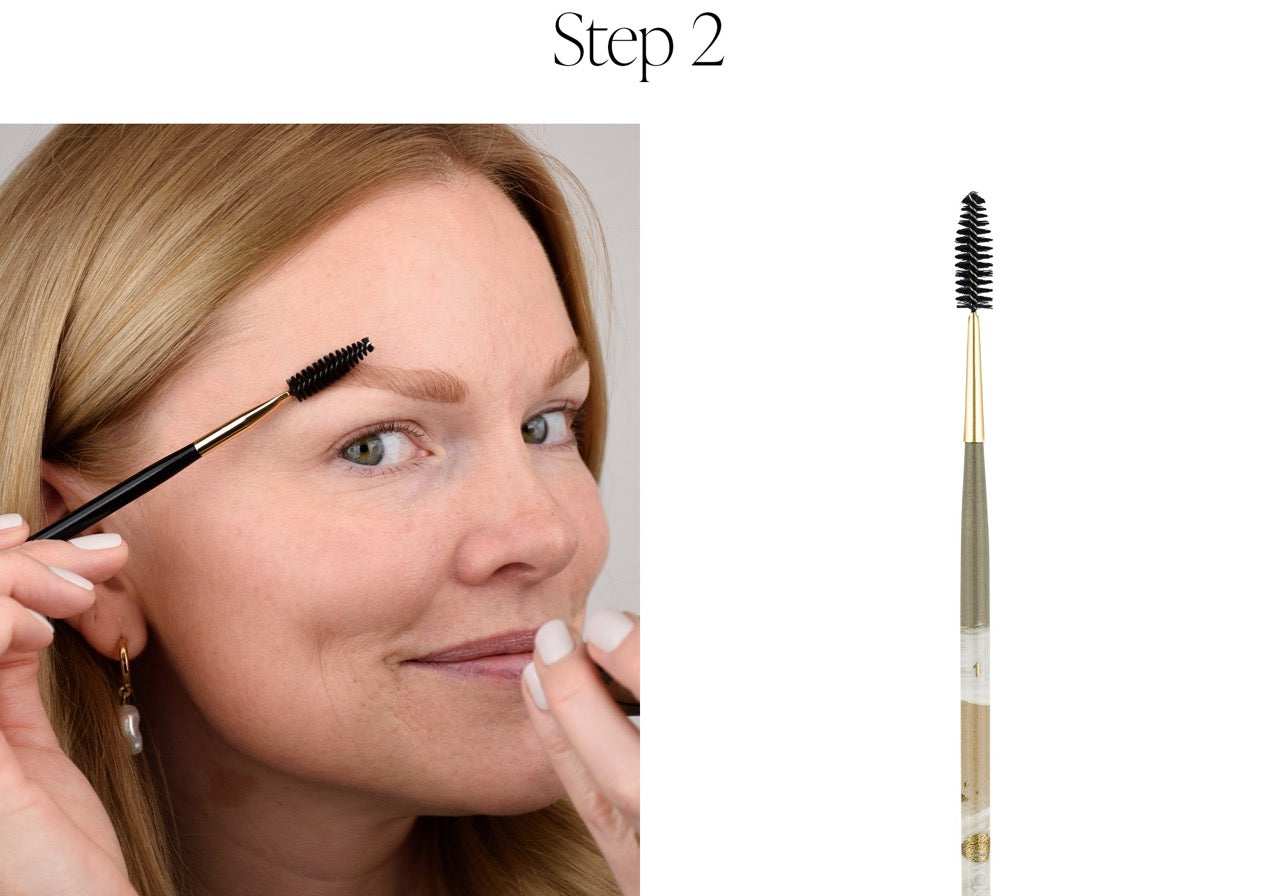
Eyebrows shape the face and can give your eyes a special emphasis. Take our #1 eyebrow brush and comb your eyebrows into the shape you want. At this point you can also fill in your eyebrows with a colored gel or our contouring powder and then gently brush in and blend the color pigments with the brush.
Apply Glow Foundation
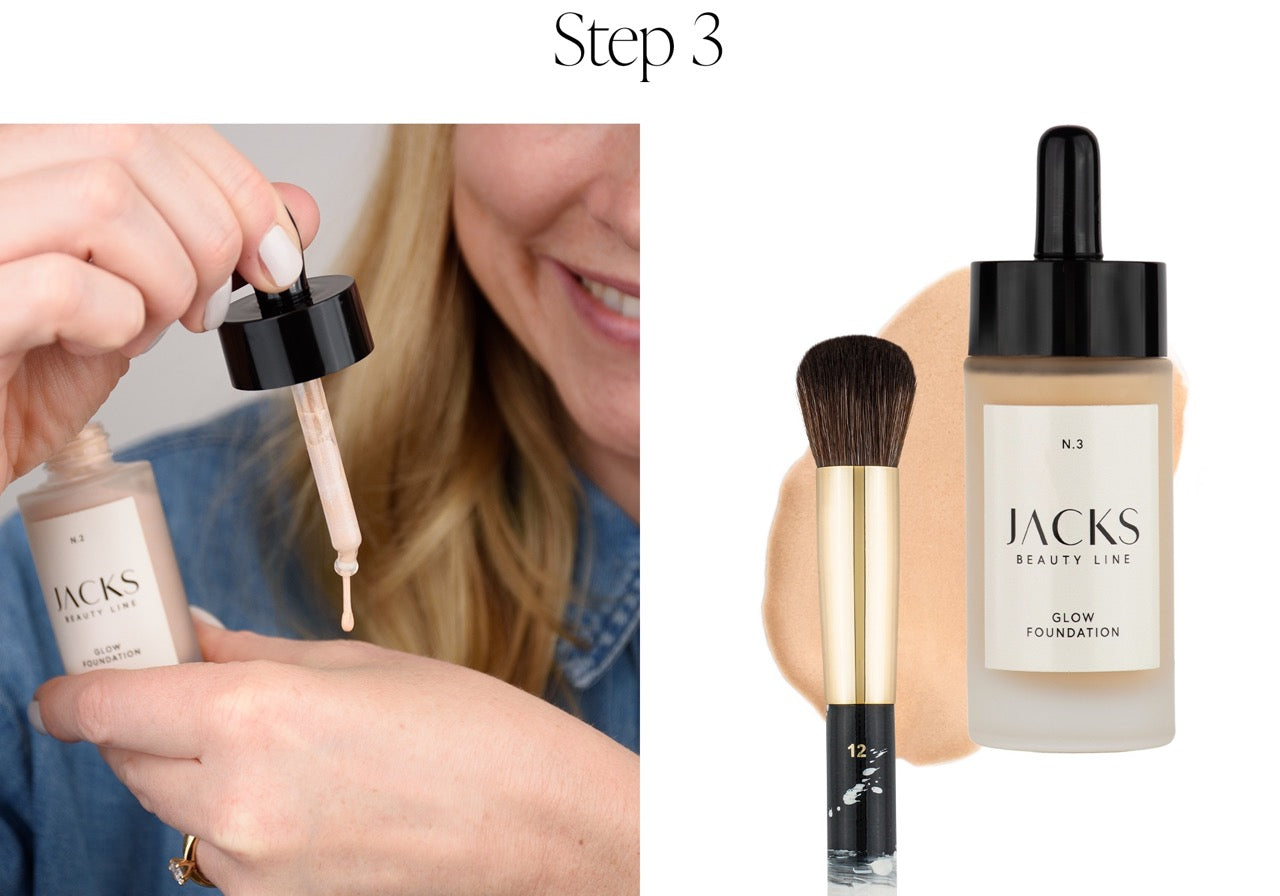 Glow Foundation + #12 Foundation Brush
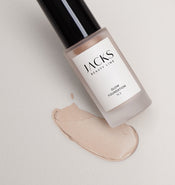
You can get the ultimate glow with our Glow Foundation. Shake the Glow Foundation before use and then put some of the Glow Foundation on the back of your hand. Then pick up some product with the #12 foundation brush. When applying, start in the middle of your face and then blend the Glow Foundation outwards.
Apply concealer

Cream concealer + #8 concealer brush
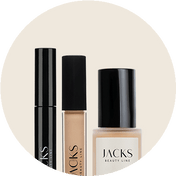
You can now use the cream concealer to cover redness and blemishes to achieve an even complexion thanks to its coverage. To do this, apply some product to the relevant areas and then blend it with the #8 concealer brush.
Apply powder
 Pressed Powder + #13 Blush and Contouring Brush
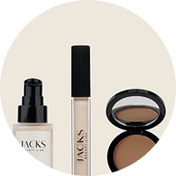
To fix the applied products, take the pressed powder. Leonie particularly likes the #13 blusher and contouring brush for the pressed powder because it is more compact and thus increases the coverage of the powder a little. To do this, pick up some powder with your brush and tap it gently so that not too much product is applied at once. Then apply the powder to your face in gentle, circular movements.
Apply bronzer
 Bronzer + #14 Powder and Bronzer Brush
Now we'll give the face some contour with the bronzer. To do this, take the #14 powder and bronzer brush and pick up some product. Place the brush on the back of your cheek and slowly work the product forward. Make sure that you don't apply the bronzer too high or too far forward.
Apply eye shadow
 Cream Concealer , Pressed Powder , Contouring Powder + #7 Shading Brush
To create a base for the eyeshadow, take some concealer and apply it to your eyelid. Then fix the applied concealer with some pressed powder. This will make the eyeshadow last longer.
Once your eyelid is prepared for the eyeshadow, you can start a subtle contour with the contouring powder. Take some product with the #7 shading brush and apply it to the upper edge of the eyelid crease. Blend the powder outwards very gently. This technique is called the "floating crease" and makes your eyes look particularly radiant. The best way to do this is to tilt your head back a little and follow your bone with the brush.
Apply Cream Blush Pink as eyeshadow
 Cream Blush in Pink + #16 Precise Blender Brush
For a subtle freshness on the eyes, you can use the Cream Blush in pink. To do this, use the #16 Precise Blender Brush to pick up some blush and gently distribute it on your eyelid. Then gently blend it into your crease. You can build up the product slowly until you like the intensity.
Apply Pressed Highlighter
 Eyeshadow Refill + #5 Mini Eyeshadow Brush
For the perfect finish to your eyeshadow, you can now add radiant accents. The Pressed Highlighter in Light is perfect for this. Simply pick up some product with the #5 Mini Eyeshadow Brush and apply it to the inner corner of your eye to really highlight your eyes. If you want a particularly shimmering look, you can also apply the Pressed Highlighter to your entire eyelid and at the same time fix the cream blush you applied earlier.
Apply Cream Blush
 Cream Blush Pink + #11 Mini Foundation Brush
To give your entire face even more freshness, you can also apply the Cream Blush in pink to your cheeks. To do this, place the Cream Blush on the highest point of your cheeks, apply some product directly to your skin and then blend it outwards with the #11 Mini Foundation Brush.
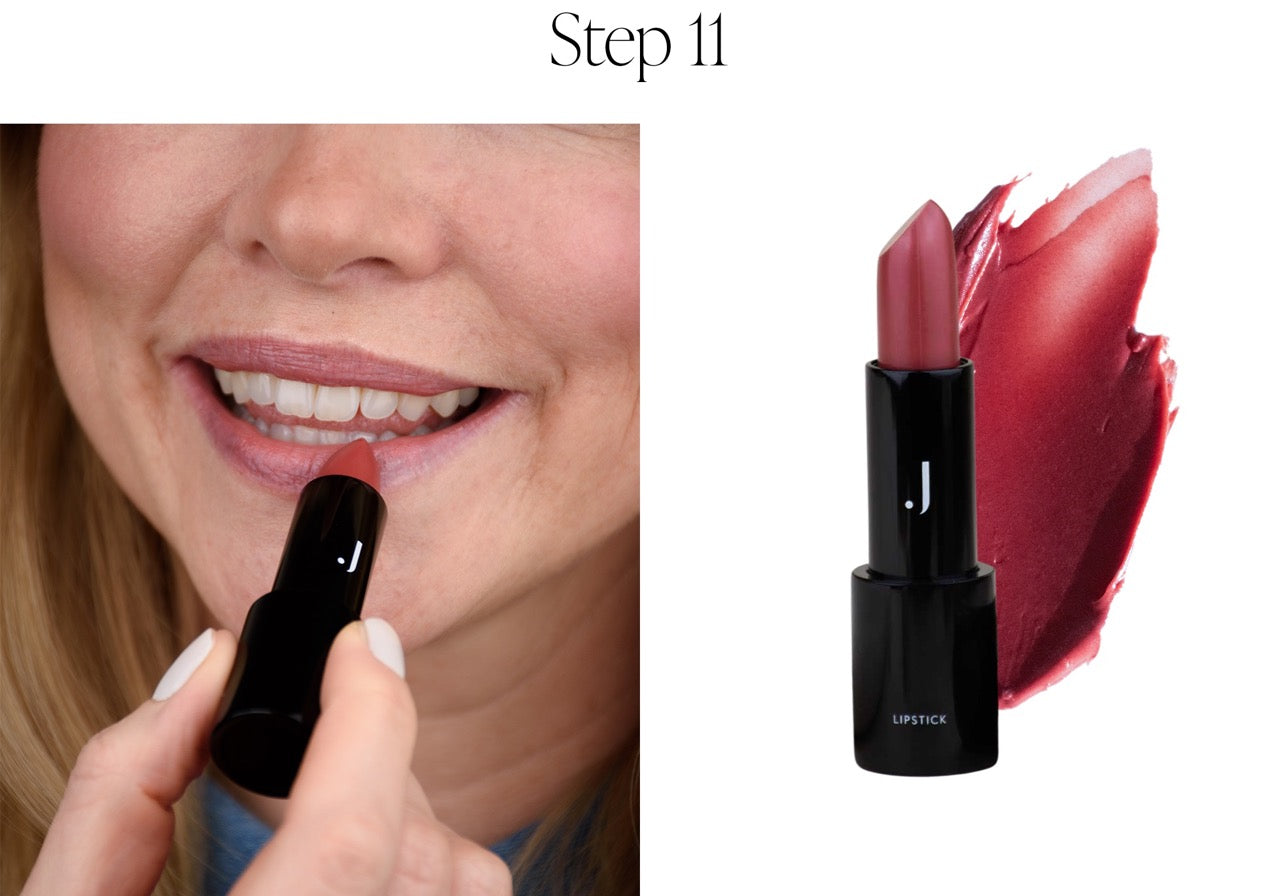
Apply lipstick
A little lipstick is a must for a perfect spring look. You can use our Sheer Lipstick in Rosewood for this, as its glossy finish makes your lips shine. Simply apply it directly to your lips. If you want a more intense result, you can also apply several layers.
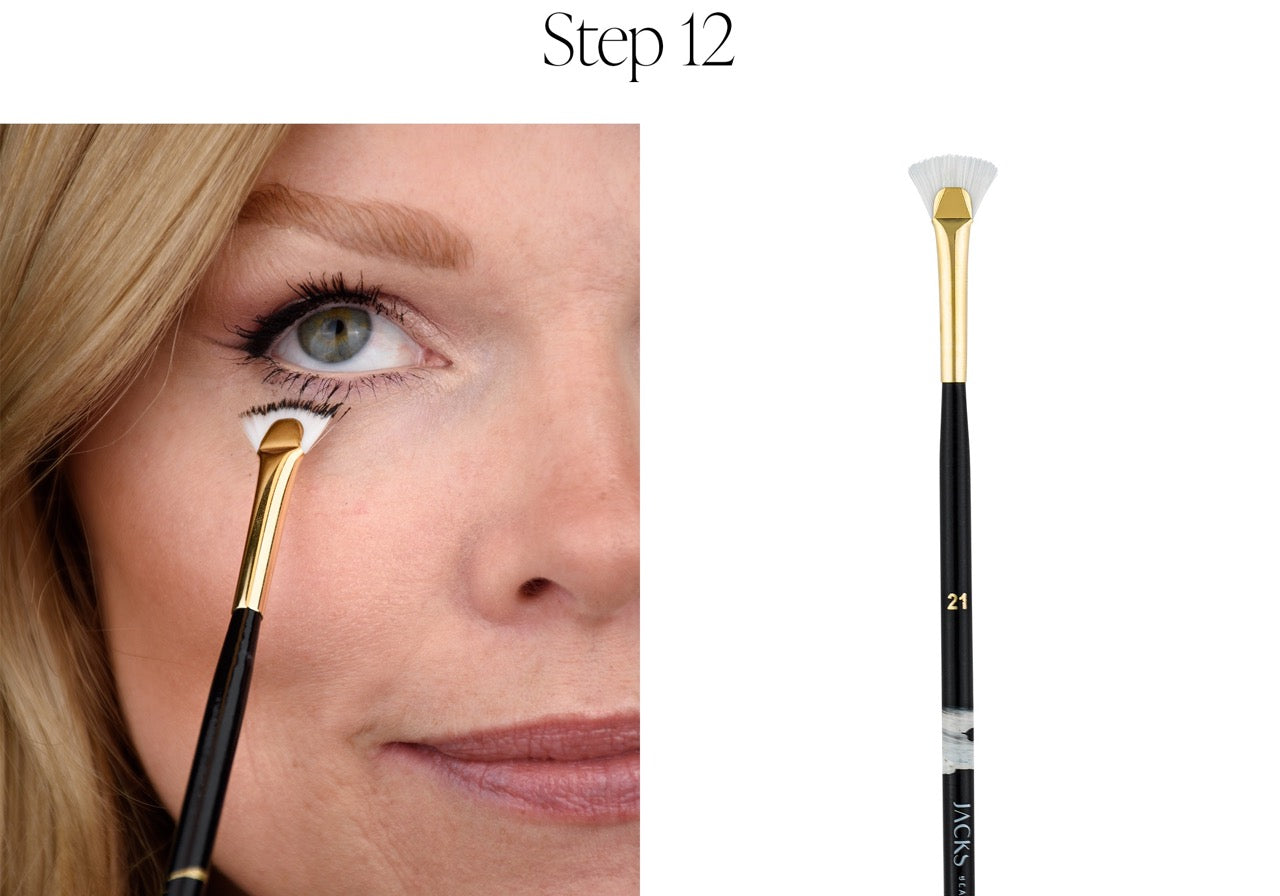
Apply mascara
Last but not least, there's the mascara. As you've probably already seen in the Instagram Lives, Leonie loves using our #21 eyelash fan to apply mascara. Thanks to its special shape, you can use it to color your eyelashes from the roots to the tips and define them at the same time. Great for anyone who has slightly shorter eyelashes or wants to work precisely on the lower lash line. Simply take your usual mascara and use the #21 eyelash fan brush to pick up some product from your mascara brush. Now you have a subtle layer of color on your brush and can define your eyelashes.
Good luck with your makeup!
