


Free masterclass
Your entry – Masterclass by Miriam Jacks
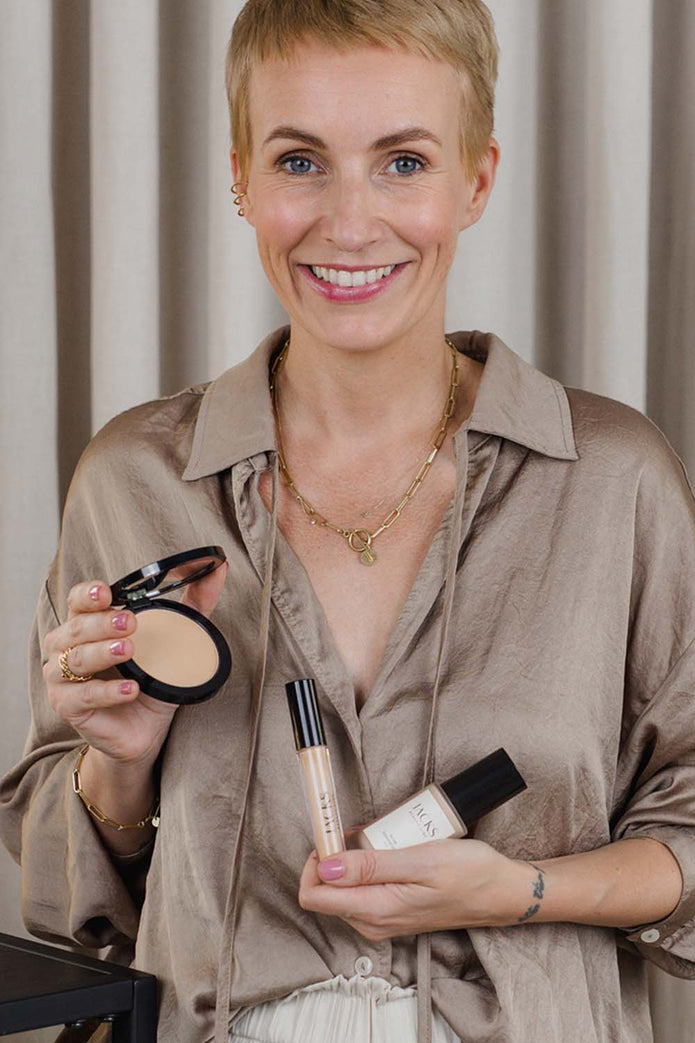
In this free masterclass, beauty expert and make-up artist Miriam Jacks reveals her tips and tricks to help you achieve an uncomplicated and quick make-up application.
This online workshop is especially suitable for make-up beginners who want to create a natural look with just a few simple steps.
What is included?
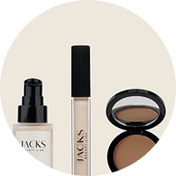
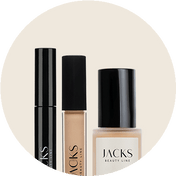
Among other things, you will learn how to correctly use the Glow Foundation, the Cream Concealer and our bronzer and how to create a radiant look step by step.
Miriam Jacks is the founder of JACKS beauty line and has been working in the beauty industry for more than 18 years. In our video tutorial you will receive valuable content from an experienced expert and get a clear first-hand explanation of how to use our products.
Preparation: Care
To thoroughly cleanse your skin, apply our Cleanser to your skin and eye area in gentle, circular motions. You can either use your hands or slightly dampen your face for this. Then rinse it off with warm water. For optimal results, we recommend using our Cleanser morning and evening.
Additionally, we recommend using a gentle Peeling 1-3 times a week. After cleansing your face, apply our particularly mild Peeling in gentle, circular motions to your dry or damp skin. Then rinse it off with lukewarm water and optionally our Cleanser to achieve perfectly cleansed skin prepared for your Make-up.
Please apply a sunscreen of your choice before every Make-up.
If you have dry skin, you can also apply either our Beauty Elixir or our Glow Mask as a thin layer.
Beauty expert tip: Less is more underneath, as our Glow Foundation already contains valuable care. Depending on your skin’s needs, you should adjust the amount of your day care applied under your Make-up.
Step 1: Apply Glow Foundation
Give a pump of the Glow Foundation onto the back of your hand, gradually pick it up with our #12 Foundation brushes and evenly distribute the formula on your face, from the center outward. Work the foundation into your skin with the brush until it visually blends with your skin. Usually, just one pump is enough to achieve a particularly light and glowy finish.
Step 2: Apply cream concealer
For an ideal result, apply our Cream Concealer to the desired areas of your skin and blend the texture evenly onto your skin, for example with our #8 concealer brush. You can wonderfully conceal small blemishes and pimples with our Cream Concealer and our #9 Powder & Concealer Brush. We recommend always using our concealer in the same shade as the Foundation. If you want to use it exclusively for your dark circles, you can also choose a shade lighter.
Beauty expert tip: If you want more coverage, you can first apply the Cream Concealer broadly and then apply the Glow Foundation only partially.
Step 3: Apply Pressed Powder
To set your Make-up as well as your Cream Concealer and refine your complexion, apply our Pressed Powder broadly to your face using our #14 Powder & Bronzer Brush. With our #9 Powder & Concealer Brush, you can also beautifully mattify smaller areas of your face. Please note that the Pressed Powder is not highly covering; rather, it mattifies your skin and has a balancing effect.
Step 4: Apply bronzer
For a fresher look on your face, apply the bronzer either with our #14 powder & bronzer brush on your face. If you want to use our bronzer for contouring, it’s best to choose our #13 rouge & contouring brush and apply the product on the cheekbones, along the face contour, and the nose, i.e., from back to front. Then blend thoroughly. Start with a light touch of bronzer and build up until you reach the desired intensity.
Step 5: Apply blush
Smile and apply our Cream Blush directly to the highest point of your cheeks and blend it, for example with our #11 Cream Blush Brush . If necessary, you can also apply our Cream Blush to the contours of your cheekbones and blend it towards your temples with our brush. If you don't want to apply the stick directly to your skin, you can also use the brush to pick up the product and then place it on your face.
Smile and apply our Powder Blush with our #13 blusher & contouring brush to the highest point of your cheeks and blend it along your cheekbones towards your temples, i.e. from front to back. This will give your complexion a fresh look and optically lift.
Step 6: Fill in eyebrows
First comb the eyebrows with the #1 eyebrow brush and then fill in the gaps with the #4 eyebrow brush and some contouring powder.
For this, gently draw your hairs in the direction of growth with short, quick strokes. Finally, brush through once more.
Step 7: Apply mascara
Start with the upper lash line and place the brush as close to the lash roots as possible, then use zigzag motions to evenly coat all the lashes.
For the lower lash line, gently place the brush and pull it downward. Our Mascara separates the lashes and coats them well.
Depending on lash length and desired finish, we recommend 1-3 coats. One coat for a very natural finish – the basic layer, so to speak. Three coats for a super intense finish.
Beauty expert tip: Look down while applying mascara to avoid small “smudges.” If mascara does get on the skin, let it dry briefly, then gently correct the spot with our #2 correction brush using light stroking motions – just like you would with a cotton swab.
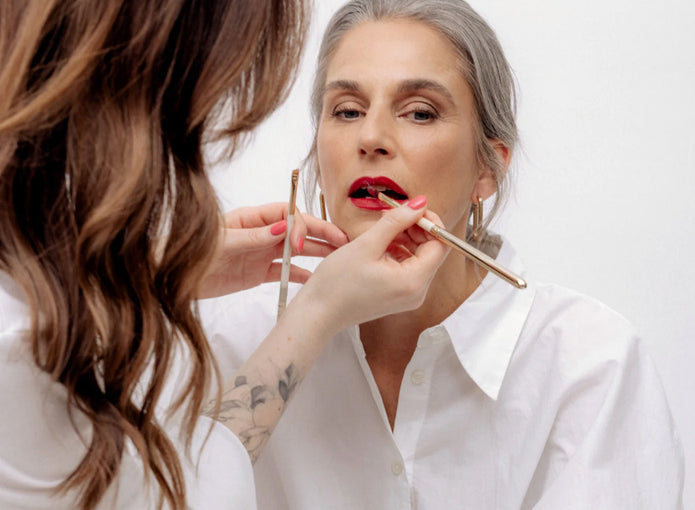
Step 8: Apply Lip Oil
Apply the Lip Oil to your lips using our #15 lip brush or your ring finger.
Ideal for your start!
Here you will find all the products that Miriam used in her free masterclass.


STILL UNSURE? CONTACT US
Book our free personal 1:1 consultation with one of our beauty experts or use our 2-minute digital consultation.
Personal advice
Get personalized advice from our beauty experts about our products in a free 1:1 video session.

Digital Consulting
Discover your ideal colors and matching beauty products in just 2 minutes – curated for you by make-up artist and beauty expert Miriam Jacks.